
Fireworks Hand Embroidery Project - Free
Supplies you will need
- Fireworks Design
- Hoop
- Needle
- Scissosrs
- White Fabric
- Blue Floss and Red Floss (or the colors of your choice)
The Inspiration
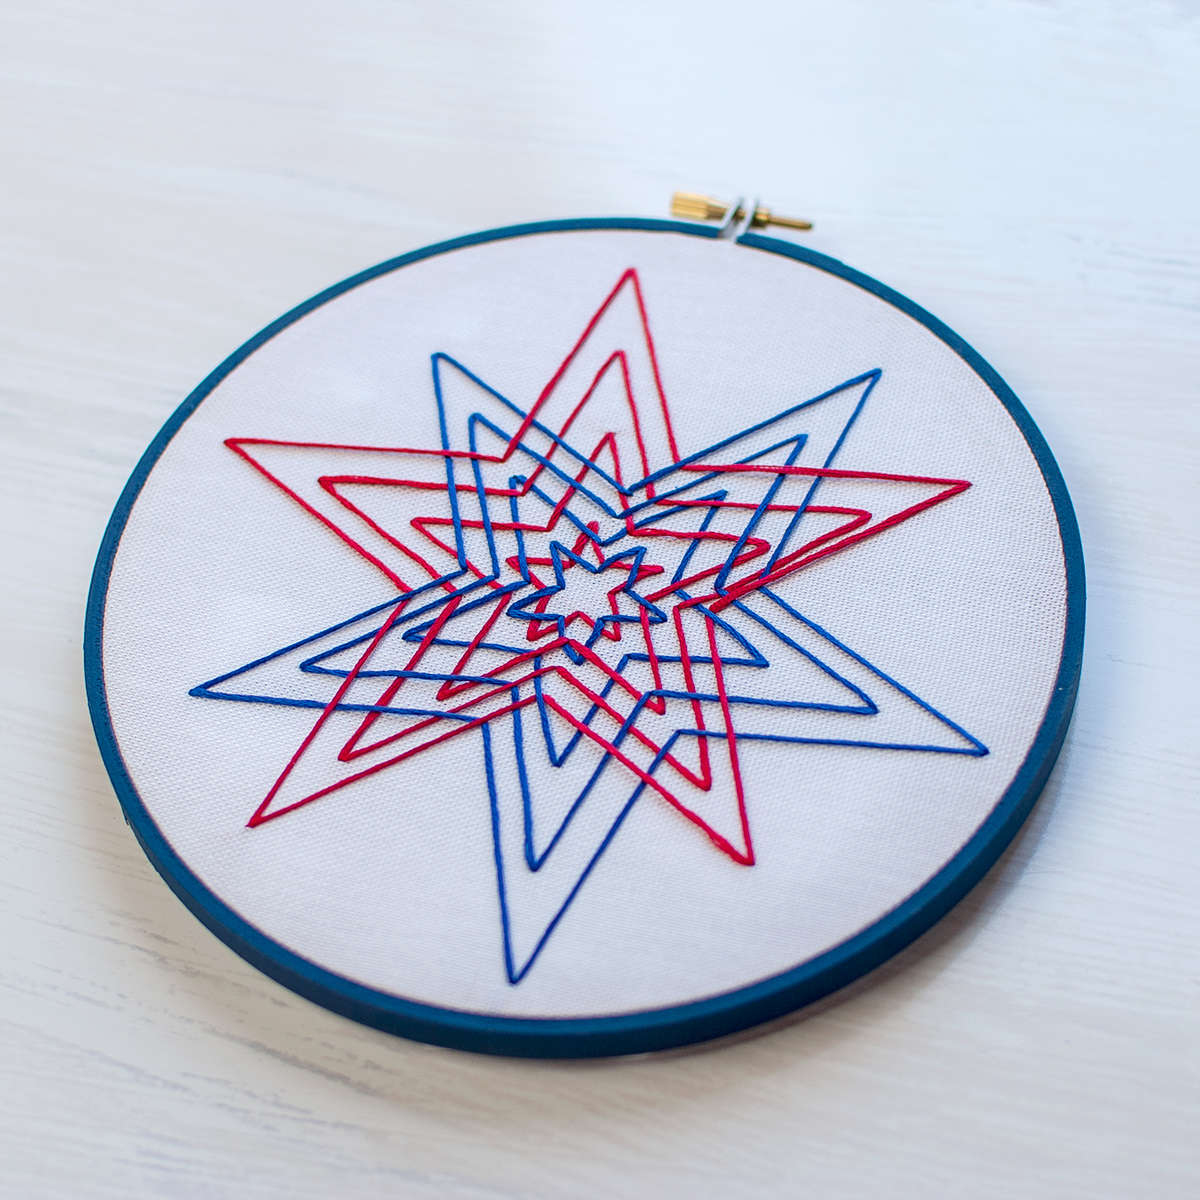
I created the fireworks design a few years ago, and every year around July, I offer it as a free design. It stitches up quickly, and the bright colors are fun to work with. Initially, it was part of a kaleidoscope collection, but it didn't quite fit with the other designs. It wasn't originally going to be red and blue either, but the exploding stars felt so patriotic. When I was done stitching it, I thought, "Wow, that kind of looks like FIREWORKS."
To Stitch the Design
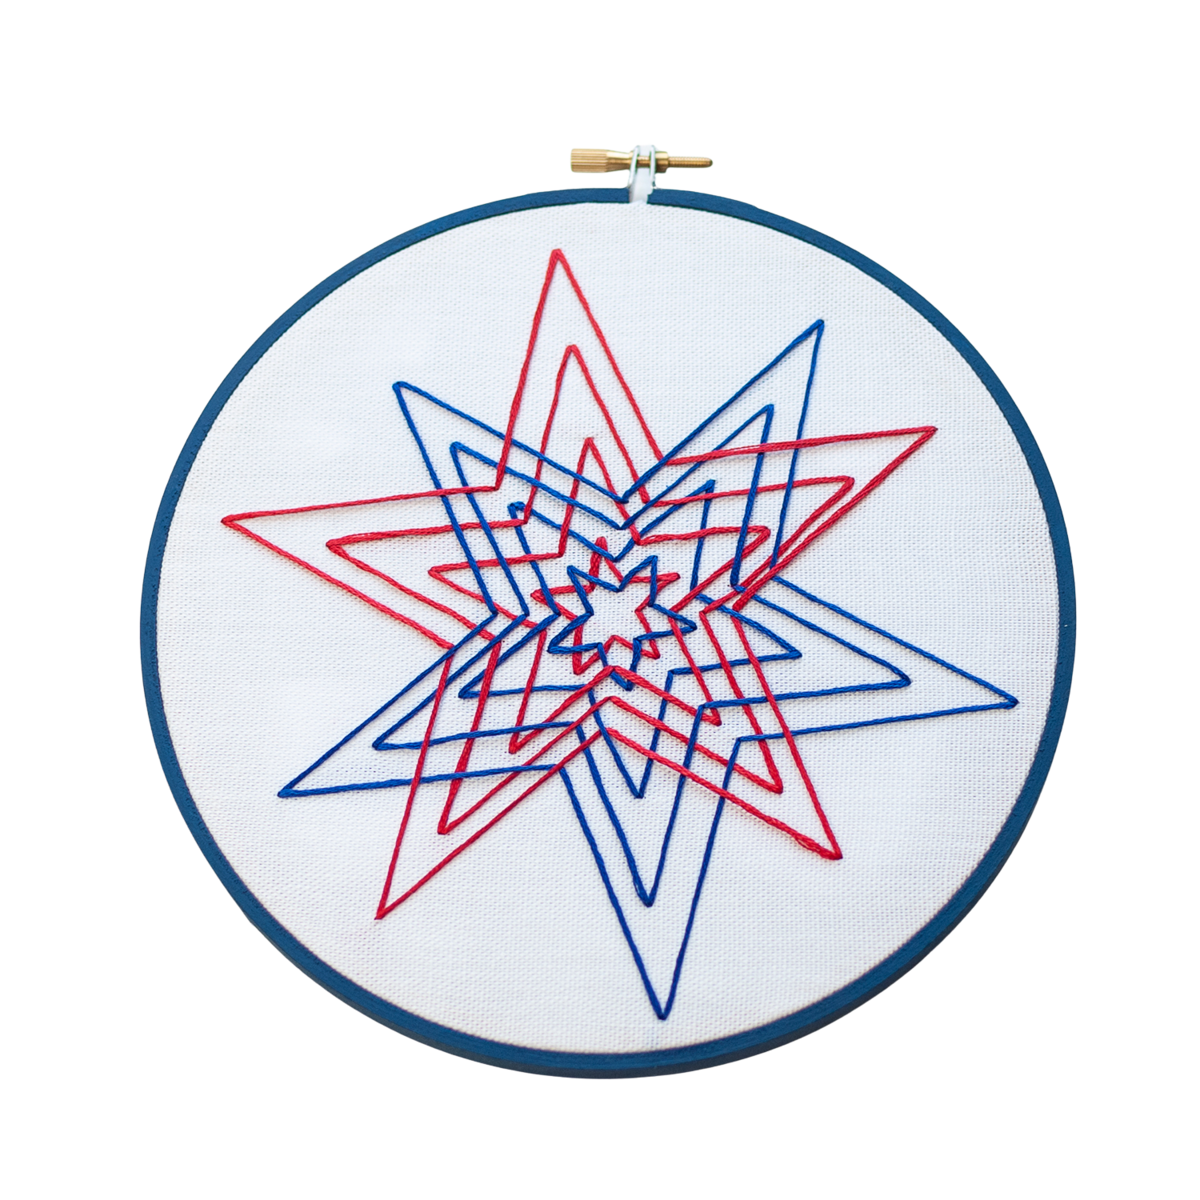
Because it is so easy, this design is only available as linework. Meaning it does not include any instructions. The design features a series of stacked five-point stars. This information is useful because the black linework can make it difficult to see the shapes clearly. For clarity, I updated the design so that each size is available in either black or color linework.
In the example photos, I stitched each star with all six strands of floss, using very long stitches that go from corner to corner. I generally do not recommend using long stitches like this unless you intend to keep the project in the hoop or frame it, as removing the fabric from the hoop will cause the stitches to sag. Even when the fabric is in the hoop, the stitches are loose enough that I can easily slide my fingers underneath them. If you plan to use this design on something like a shirt or a table runner, it is advisable to avoid long stitches.
For proper stitching, I recommend using either the Back Stitch or Split Stitch.
I found it easiest to start at the center and stitch one star at a time, working my way outward. Alternatively, you can weave the two colors over and under each other to create an intertwined effect for the stars.
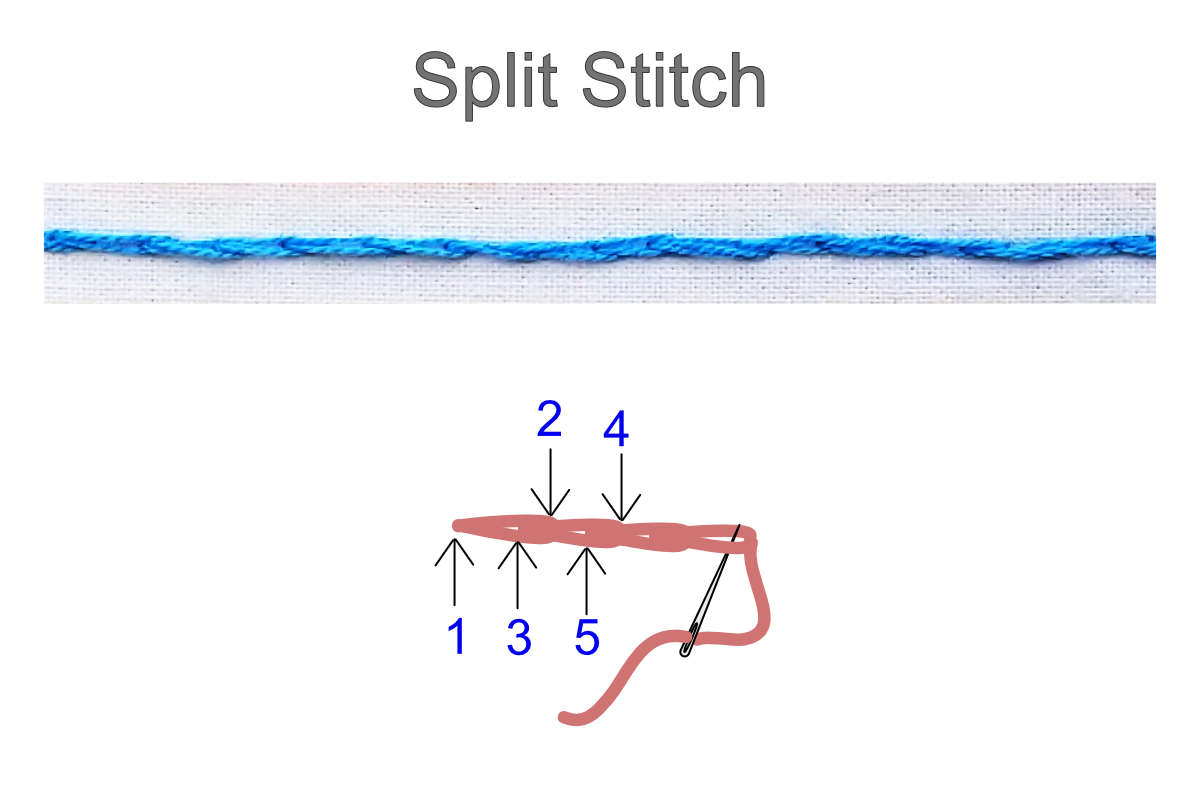
To do the split stitch
Start on the back side of the fabric and bring your needle up through the fabric at 1 then down through at 2. Bring your needle up through at 3 stitching through the previous stitch piercing the strands of floss. Create another stitch by bringing your needle down at 4 and up at 5 repeating the process.
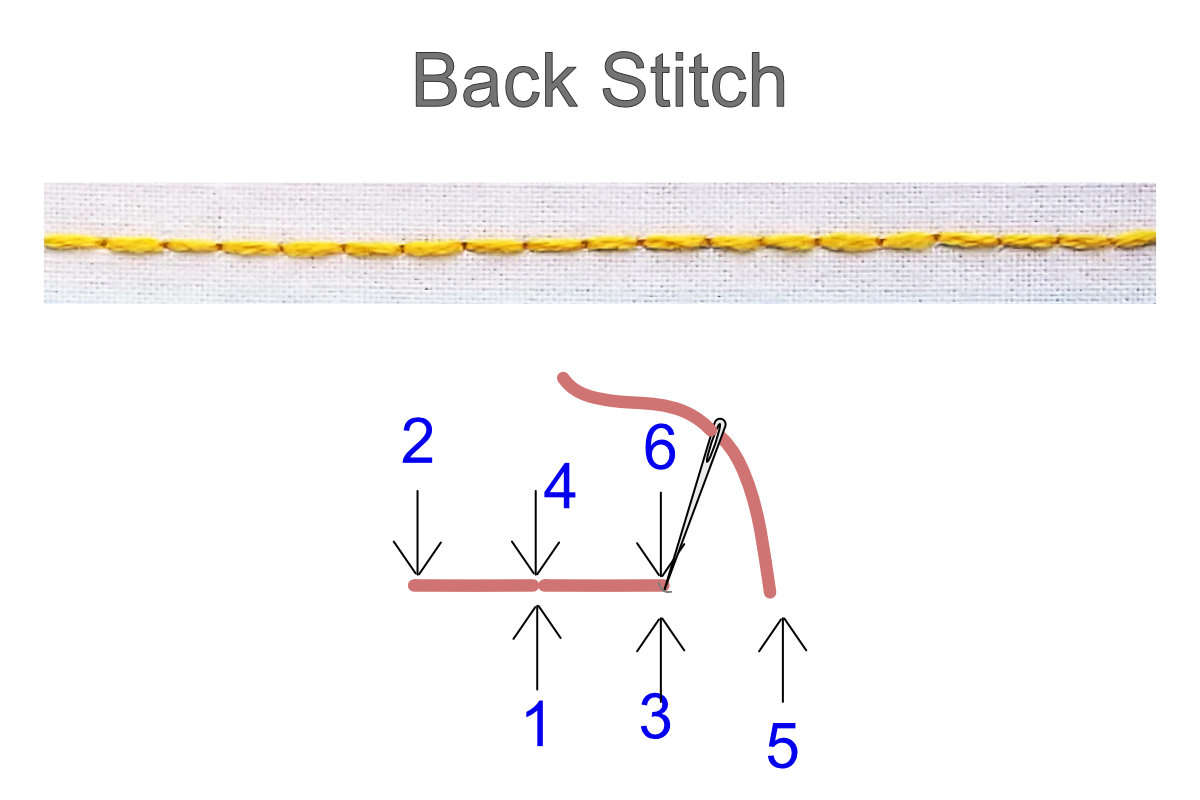
To do the back stitch
Start on the back side of the fabric and bring your needle up through the fabric at 1 then down through at 2. Bring your needle up through at 3 and back down at 4 in the same hole as 1. Each stitch is made by moving forward on the back side then back to the previous stitch on top.
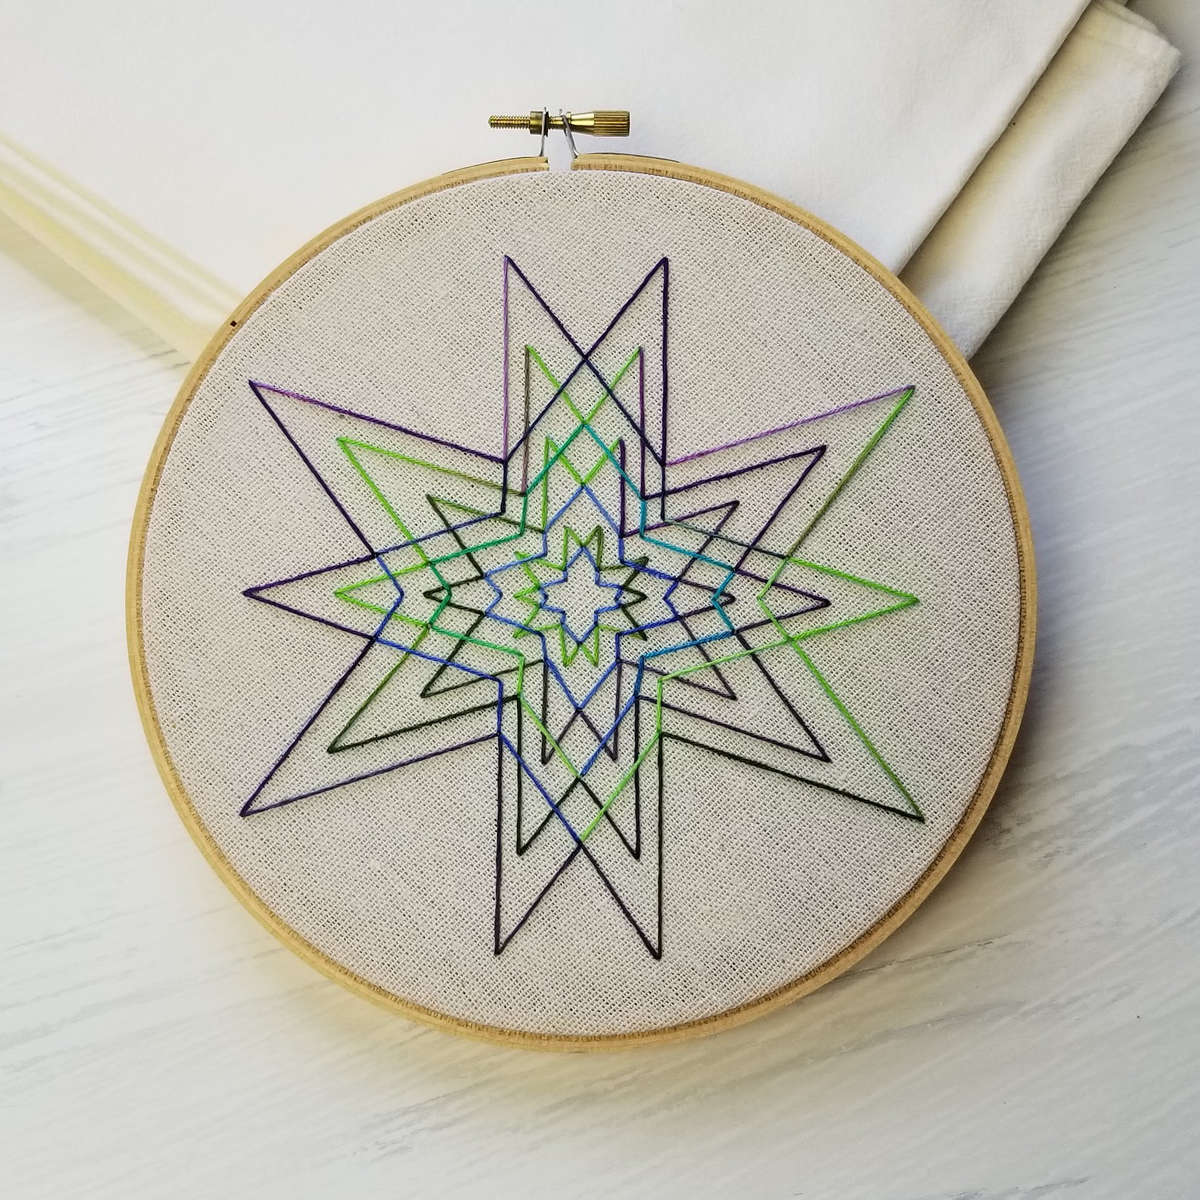
Get Creative
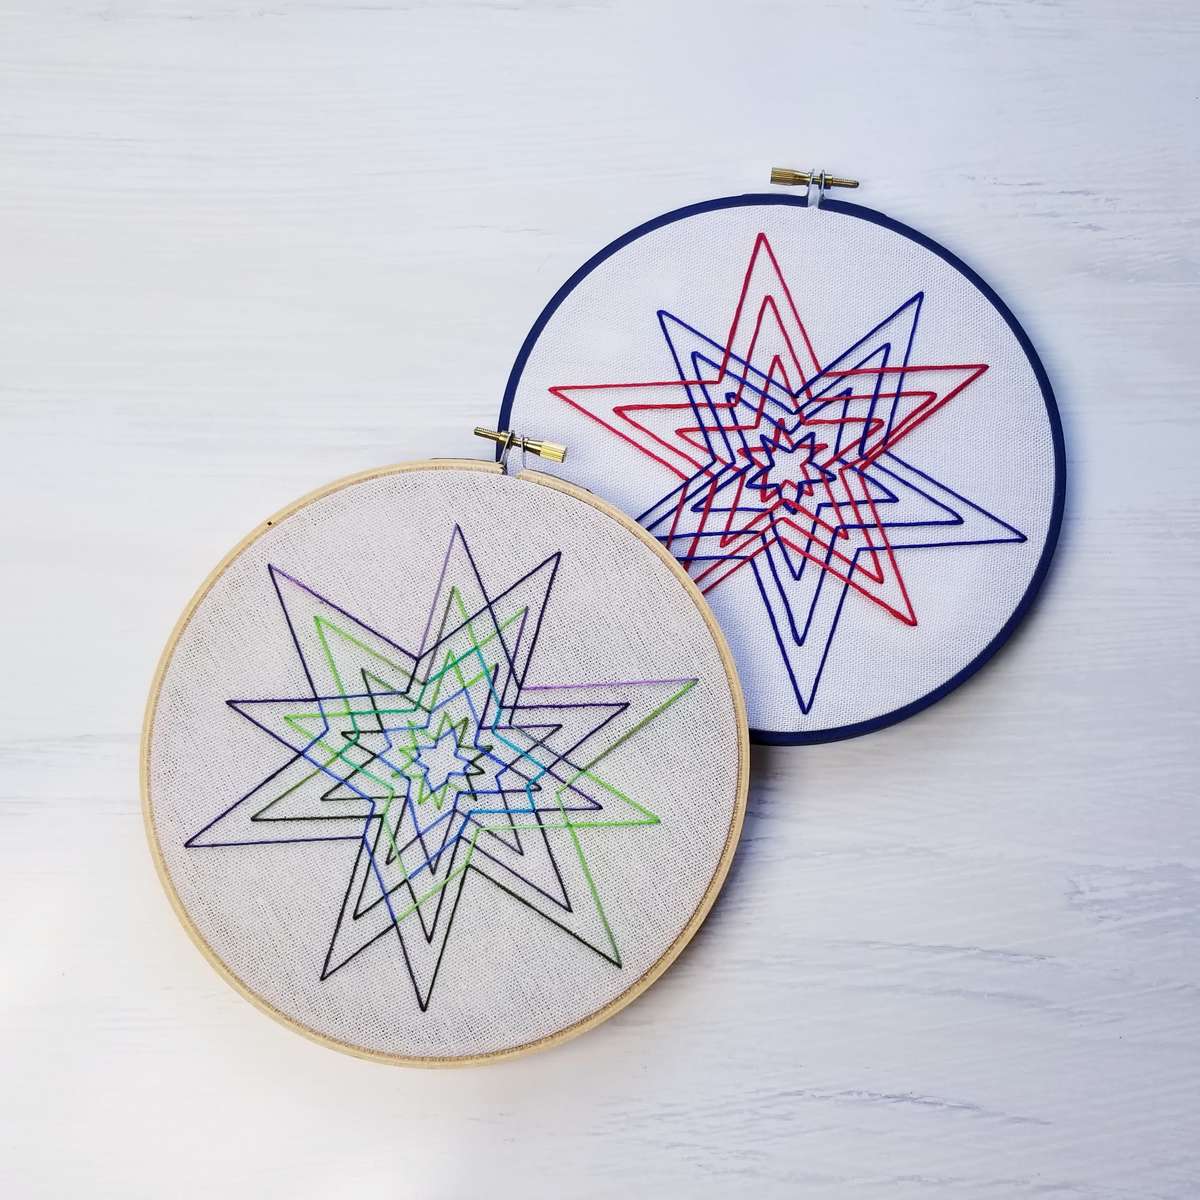
You can personalize this project by changing the colors, fabric, or altering your stitching technique. In the example above, I used the same crazy long stitches but with one skein of variegated floss. If you look closely, you'll notice that I didn’t strictly adhere to the star shapes. Instead, I followed the lines of the design in a somewhat random order. I thought I used the Iris variegated floss for the green and purple, but I'm not sure. Yes, sometimes I use cheap threads, and yes, DMC is better, but for some projects, the budget threads are fine.
Personally, I enjoy designs like this. There’s no pressure to choose the perfect colors or stitches. I can simply relax and stitch while watching my favorite show.
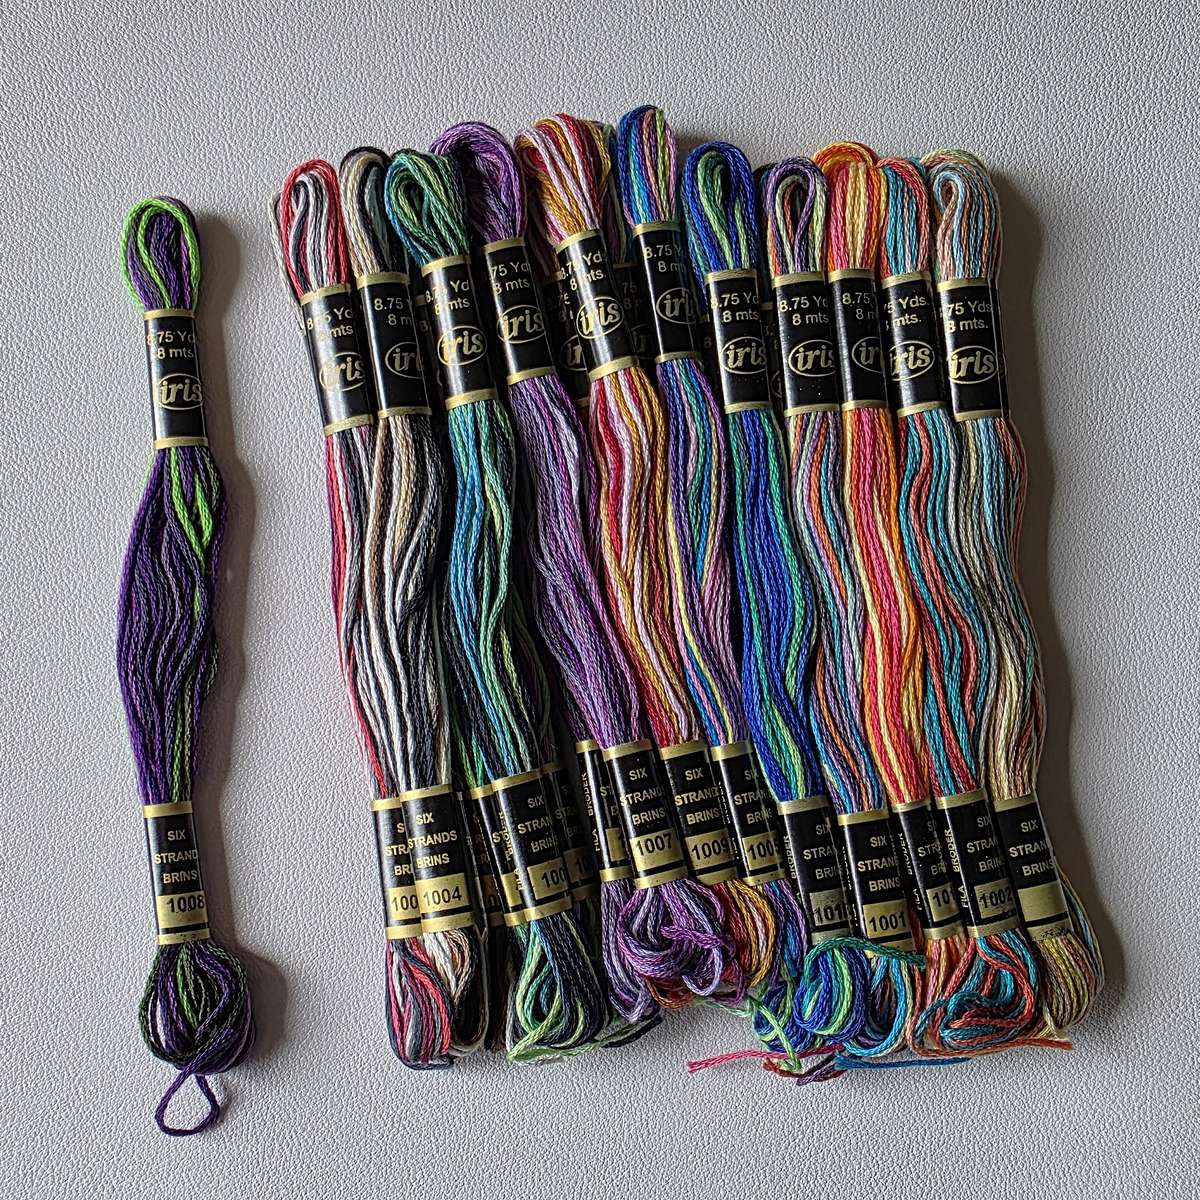
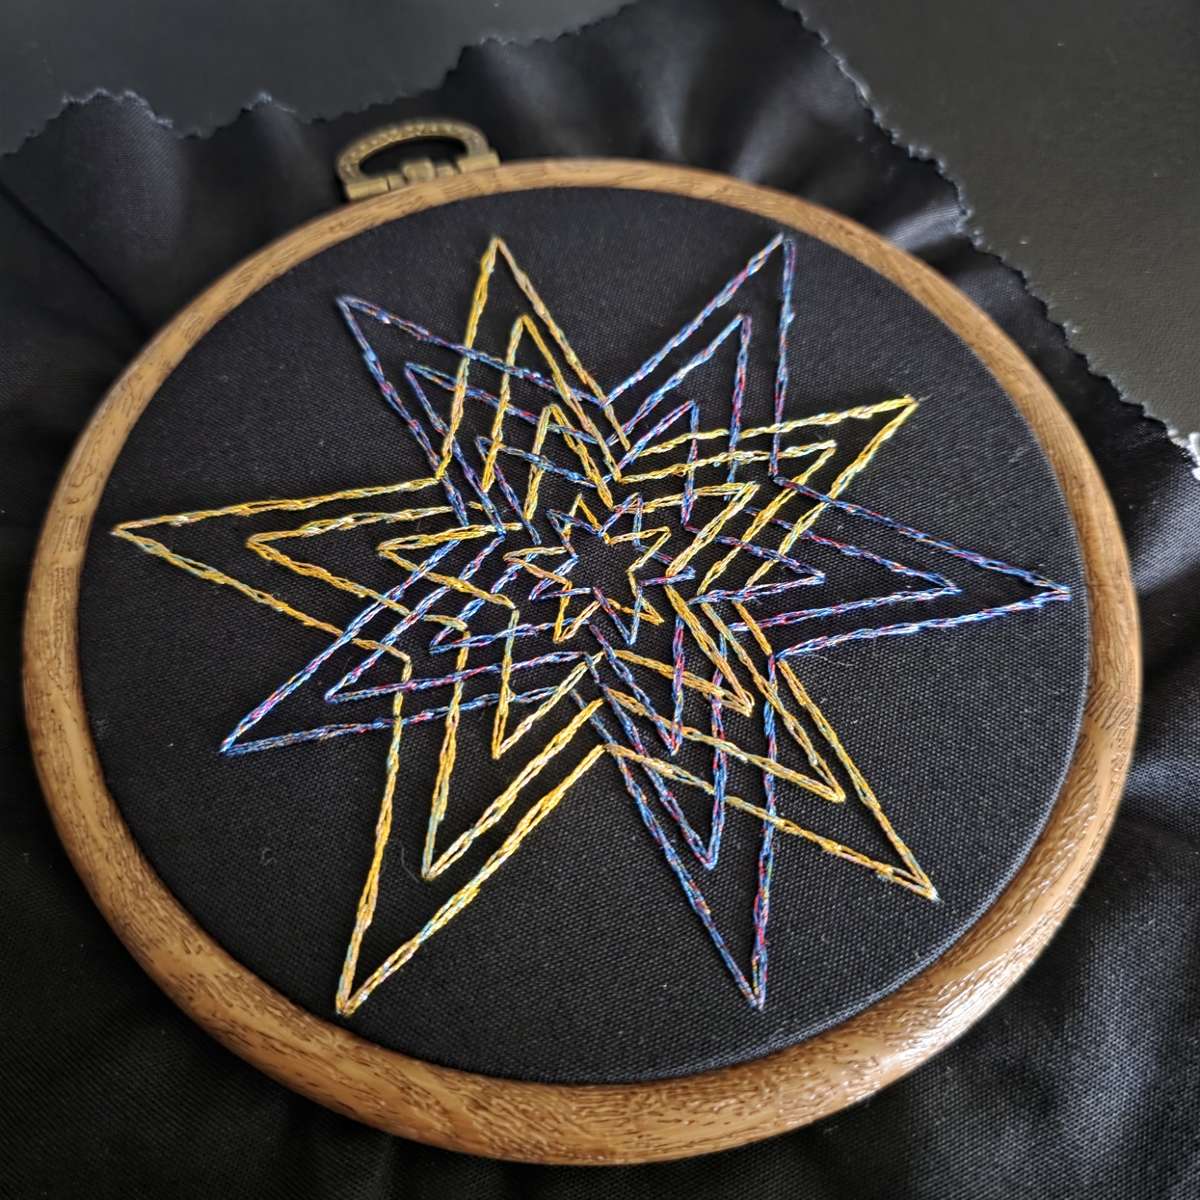
I recently tried stitching this design with metallic thread, and it didn't turn out as well as I had hoped. If you’re interested, I've written a bit about it in my online journal.
Share Your Masterpiece
I love seeing all the unique ways this design could be stitched.
Stitcher's Gallery
If you used this design in your latest project, please submit photos of your work for the stitcher's gallery.